9 Mixed Media Approaches to Map Art That Create Visual Impact
Maps have evolved far beyond their traditional navigational purpose into stunning works of art that blend various materials and techniques into captivating visual stories. By combining elements like paper, paint, fabric, digital imagery and found objects you can transform ordinary maps into extraordinary mixed media masterpieces that tell unique geographical narratives.
Whether you’re an experienced artist or just beginning to explore creative map making you’ll discover endless possibilities for expressing your artistic vision through mixed media map art – from vintage atlas page collages to 3D topographical sculptures that bring landscapes to life.
Disclosure: As an Amazon Associate, this site earns from qualifying purchases. Thank you!
Understanding Mixed Media Map Art Fundamentals
Mixed media map art combines traditional cartographic elements with various artistic materials and techniques to create unique geographical expressions.
Traditional Versus Contemporary Map Making
Traditional mapmaking focuses on precise geographical representation using standardized symbols ink and paper. Contemporary map artists break these conventions by incorporating mixed media elements like acrylic paints digital prints collage materials and 3D elements. Modern approaches emphasize artistic interpretation over strict accuracy allowing creators to blend topographical data with personal artistic vision. Digital tools now enable artists to merge satellite imagery vintage maps and artistic elements creating hybrid works that honor cartographic tradition while pushing creative boundaries.
Essential Materials and Tools
Basic supplies include:
- Paper materials: maps atlases cardstock watercolor paper
- Adhesives: gel medium rubber cement archival glue
- Art supplies: acrylic paints markers watercolors pencils
- Tools: scissors craft knives rulers brushes
- Digital equipment: scanner printer photo editing software
- Texture elements: fabric natural materials found objects
- Preservation items: fixatives sealants protective covers
Each project requires specific combinations of these materials based on your artistic vision and technical needs. Quality tools ensure professional results and artwork longevity.
Creating Textural Backgrounds With Paint Techniques
Paint techniques form the foundation of visually compelling map art by adding depth and dimension to your geographical narratives.
Working With Watercolor Washes
Start your map background by applying light watercolor washes in earth tones like raw sienna or pale blue. Use wet-on-wet technique to create soft gradients that mimic terrain variations or ocean depths. Build translucent layers by letting each wash dry completely before adding the next. Control paint flow with water ratios to achieve effects ranging from subtle color shifts to dramatic bleeding edges that suggest coastlines or river systems. For antique effects sprinkle salt on wet washes to create organic texture patterns.
Building Layers With Acrylics
Layer acrylic paints to develop rich topographical textures in your map backgrounds. Start with a base coat using matte medium mixed with paint for better adhesion. Apply subsequent layers using dry brush techniques to create subtle elevation changes or stippling for varied terrain textures. Use palette knives to scrape or build raised areas that represent mountainous regions. Mix modeling paste with acrylics to create dimensional elements that catch light and shadow suggesting geographical features. Let each layer dry thoroughly to prevent muddying colors.
Incorporating Paper Elements Into Map Designs
Paper elements add depth texture and historical authenticity to mixed media map designs creating visually compelling layered compositions.
Vintage Map Collage Methods
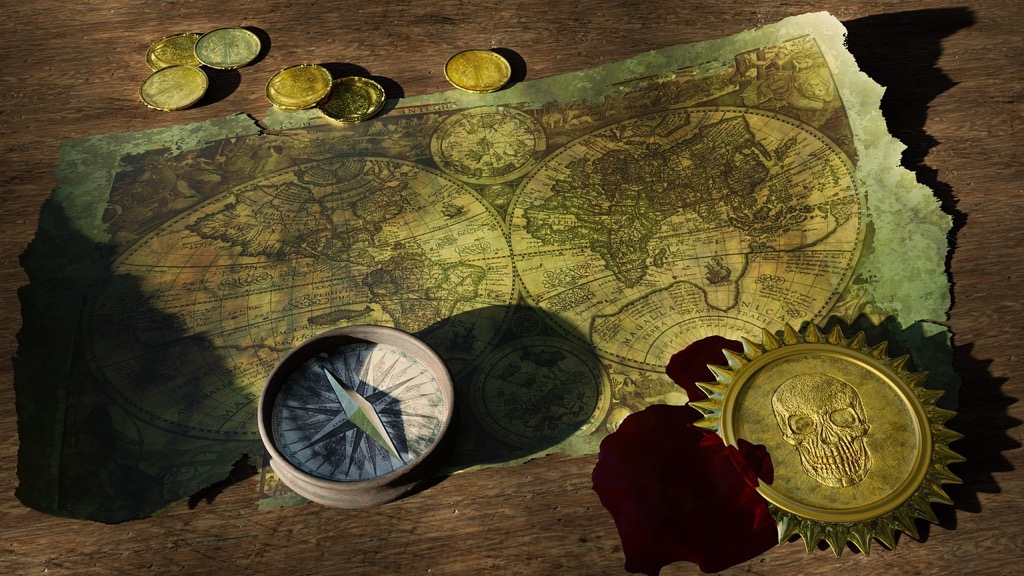
Transform old atlas pages into striking collages by layering torn or cut segments from different maps. Select maps with complementary color schemes like sepia browns earthen greens or faded blues. Use archival adhesive to secure overlapping pieces creating seamless transitions between regions. Enhance depth by incorporating vintage text fragments postmarks or compass rose designs from period maps. Seal the finished collage with UV-resistant fixative to prevent yellowing and preserve delicate paper elements.
Paper Cutting and Folding Techniques
Create dimensional map art through strategic cutting and folding methods. Use a precision knife to cut along coastlines mountain ranges or city grids developing intricate relief patterns. Apply accordion folds to represent elevation changes or pop-up elements to highlight key landmarks. Incorporate kirigami techniques to craft detailed 3D cityscapes or topographical features. Layer different paper weights to add structural stability varying from tissue-thin papers for delicate details to heavyweight stock for base elements.
Adding Dimension With Found Objects
Transform your map art by incorporating three-dimensional objects to create tactile geographical representations that engage viewers on multiple sensory levels.
Natural Materials and Textures
Integrate organic elements to represent terrain features authentically in your map compositions. Use sand and small pebbles to create textured coastlines beach areas or desert regions. Add dried moss bark or leaves to represent forests national parks or vegetation patterns. Position small twigs as natural borders between regions or to mark hiking trails. These materials work best when sealed with clear adhesive to prevent deterioration while maintaining their natural appearance.
Metallic Elements and Hardware
Incorporate metallic components to highlight industrial or urban features in your map artwork. Use brass fasteners to mark city locations or create movable compass elements. Add small gears washers or wire to represent transportation networks railways or power grids. Position vintage keys or clock parts to symbolize historical landmarks or time zones. Secure these elements with industrial-strength adhesive ensuring each piece contributes to both the visual narrative and structural integrity of your composition.
Exploring Digital and Analog Combinations
Merging digital precision with handcrafted artistry creates unique map compositions that leverage the strengths of both approaches.
Digital Map Printing Methods
Start your hybrid map art by printing high-resolution satellite imagery or vector maps on archival-quality paper using pigment-based inks. Choose between giclee printing for museum-grade reproductions or dye-sublimation for fabric transfers. For textured effects, experiment with UV printing on specialty papers or try digital embossing to create raised topographical features. Select paper weights between 250-300 GSM to ensure durability while maintaining workability for additional mixed media applications.
Hand Embellishment Approaches
Transform your digital prints using traditional art techniques to add personal touches. Apply gold leaf to highlight coastlines waterways or city centers. Use acrylic paint markers to emphasize roadways or add custom symbols. Create depth by layering transparent washes over printed terrain or apply texture paste to mountain ranges. Add hand-lettered place names using brush pens or employ stippling techniques with archival ink to enhance shadow effects in topographical features.
Working With Text and Typography
Typography and text elements add crucial geographical context and artistic flair to mixed media map art while helping viewers navigate the composition.
Calligraphy and Hand Lettering
Transform place names and map labels into artistic elements using traditional calligraphy techniques with dip pens and India ink. Create flowing letterforms using brush pens for larger text features or pointed pen nibs for delicate details. Choose script styles that match your map’s historical period or theme like Copperplate for vintage designs or modern brush lettering for contemporary pieces. Layer different lettering scales to establish visual hierarchy between major cities countries and geographical features.
Transfer and Stamping Techniques
Apply text elements efficiently using transfer methods like carbon paper for precise placement of typography. Create custom rubber stamps featuring compass roses directional indicators or repeated text elements to maintain consistency across your design. Use alphabet stamps with pigment inks to add distressed vintage-style labels or combine letter stamps to build custom place names. For detailed text work try rub-on transfer letters which offer clean professional results while allowing for careful positioning of each character.
Experimental Surface Treatments
Innovative surface treatments transform ordinary map art into extraordinary mixed media masterpieces by adding unique textures depth and visual interest.
Wax and Resin Applications
Incorporate encaustic wax techniques to create translucent layers over map elements adding both protection and ethereal depth. Apply clear resin to seal vintage maps while creating a glass-like finish that enhances colors and preserves delicate details. Pour colored resin in strategic areas to simulate bodies of water or highlight specific regions. Use hot wax to create textural effects like mountainous terrain or combine beeswax with oil paints for a rich antiqued patina.
Fabric and Fiber Integration
Layer delicate fabric elements like gauze or silk over map segments to create atmospheric effects and add tactile dimension. Incorporate burlap or textured fabrics to represent terrain features or landmasses. Stitch geographic boundaries with embroidery thread to emphasize borders or migration routes. Apply fabric dyes and paints directly onto natural fibers to create custom map overlays while maintaining the textile’s inherent texture.
Finishing and Presentation Methods
Transform your mixed media map art into display-ready pieces with professional finishing touches that protect and showcase your work.
Framing and Display Options
Choose floating frames to highlight dimensional elements in your map art while providing adequate depth for 3D components. Consider museum-quality UV-protective glass to shield delicate paper elements and prevent color fading. Mount larger pieces on acid-free foam core to prevent warping and install brass hanging hardware rated for the artwork’s weight. For unconventional shapes try shadow box frames or custom-built wooden display cases that complement your map’s aesthetic.
Preservation Techniques
Protect your mixed media map art by applying archival-grade fixative sprays to seal loose media and prevent smudging. Use acid-free tissue paper between stored pieces and maintain consistent humidity levels between 45-55% to prevent paper deterioration. Apply conservation-grade varnish to painted elements while keeping artwork away from direct sunlight. For pieces with natural materials incorporate silica gel packets in storage containers to control moisture levels and prevent mold growth.
Taking Your Map Art Further
Building a Cohesive Series
Develop your map art series by selecting a unifying theme that connects each piece while allowing for creative variation. Choose a specific geographical region time period or artistic technique as your anchor point. Create 5-7 pieces that share common elements like color palette material choices or compositional style. For example you might focus on coastal cities using blues and metallic elements or explore mountain ranges through textured papers and elevation data. Keep your series tight by limiting variables: if you’re using vintage maps stick to a specific era or if working with satellite imagery maintain consistent processing techniques.
Exhibition and Sales Opportunities
Transform your map art into a marketable collection by targeting specific venues and platforms. Contact local galleries that feature mixed media work especially those with a focus on geographical or environmental themes. List your pieces on specialized art marketplaces like Artfinder Saatchi Art or Etsy’s cartography section. Consider participating in map-specific events such as the International Map Industry Association exhibitions or geographic society shows. Price your work based on size complexity and materials ranging from $200 for smaller pieces to $2000+ for large-scale installations. Partner with interior designers who source artwork for corporate spaces where map art often resonates with global business themes.
Conclusion
Mixed media map art offers endless possibilities to transform traditional cartography into stunning artistic expressions. By combining various materials techniques and approaches you’ll create unique pieces that tell compelling geographical stories while pushing creative boundaries.
Whether you’re drawn to vintage atlas collages digital hybrids or 3D installations your artistic journey in map art can lead to remarkable works that captivate viewers. Remember that experimentation with different media and preservation techniques will help you develop your signature style while ensuring your creations stand the test of time.
Let your creativity guide you as you explore this fascinating intersection of cartography and fine art. The world of mixed media map art awaits your unique interpretation and artistic vision.
