9 Texture Tips for Map Backgrounds That Enhance Visual Impact
Creating visually stunning maps requires more than just accurate data and clear symbols – the background texture you choose can make or break your design. Whether you’re crafting a fantasy world map or designing a professional geographic visualization the right texture adds depth dimension and visual interest to your cartographic creation.
Your map’s background texture sets the tone and context for the entire design while helping guide viewers’ attention to important details in your visualization. From subtle paper effects that evoke vintage maps to modern geometric patterns that complement data visualization the strategic use of texture transforms flat designs into immersive and engaging map experiences.
Enhance your space with this 24x36 antique world map poster. Printed in full color on high-quality paper, it ships securely in a protective cardboard tube.
Disclosure: As an Amazon Associate, this site earns from qualifying purchases. Thank you!
Understanding the Role of Texture in Map Design
Texture serves as a fundamental design element that shapes how users interpret and interact with map information.
P.S. check out Udemy’s GIS, Mapping & Remote Sensing courses on sale here…
Defining Texture Elements
Texture elements in maps consist of visual patterns repeating across the background surface. These include grain effects like paper or parchment textures subtle topographic patterns and digital noise overlays. Each texture type creates distinct visual characteristics through variations in density contrast and scale. Common texture elements incorporate:
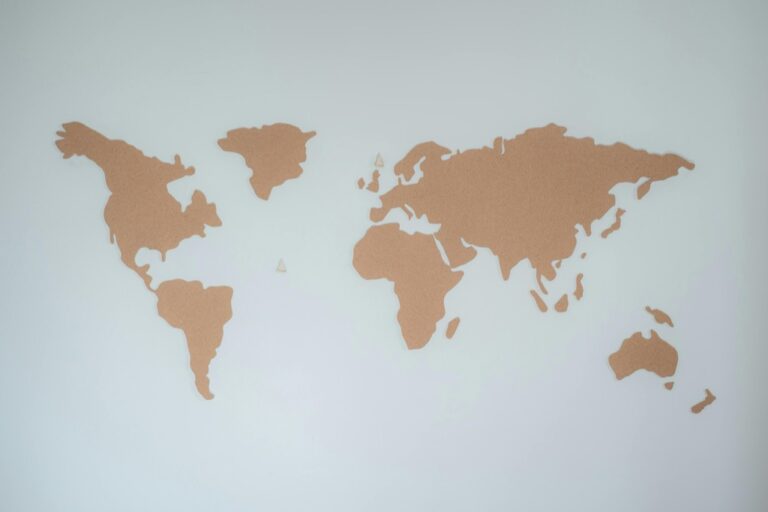
- Organic patterns (woodgrain canvas linen)
- Geometric designs (dots lines grids)
- Environmental textures (terrain patterns water ripples)
- Digital effects (noise gradients overlays)
Impact on Map Readability
The right texture enhances map readability by creating visual hierarchy and depth without overwhelming key information. A well-chosen texture:
- Improves figure-ground relationships between features
- Reduces eye strain through subtle contrast
- Guides attention to important map elements
- Maintains legibility of text and symbols
- Creates depth perception through pattern scaling
Texture opacity should typically stay between 10-30% to support readability while avoiding distraction from essential map data.
Selecting Appropriate Texture Patterns
When choosing textures for map backgrounds, balance visual interest with functional clarity to enhance your cartographic design.
Natural vs. Geometric Patterns
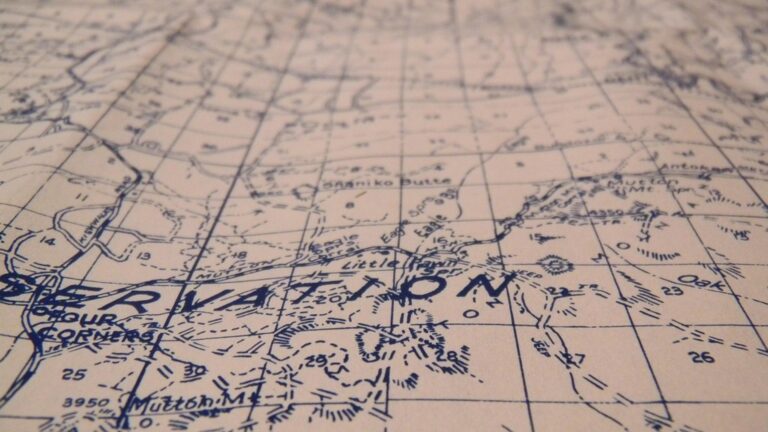
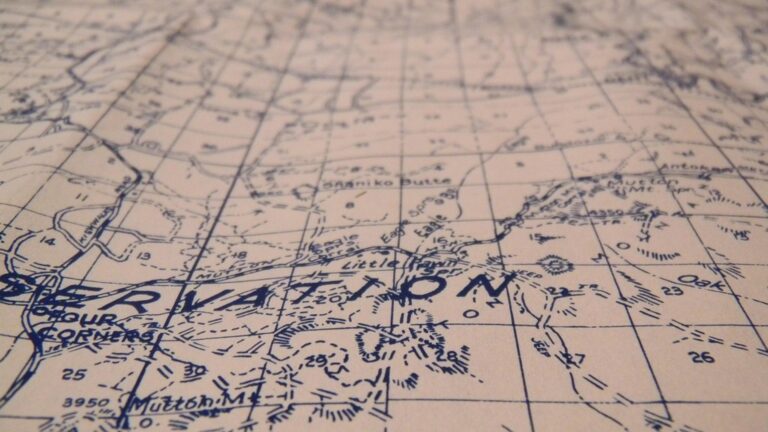
Natural patterns like paper grain wood textures and watercolor effects work best for historical topographical or fantasy maps. They add authenticity and organic warmth to your designs. Geometric patterns such as dots grids or linear designs suit modern technical or urban maps. These structured textures reinforce precision and complement data-driven content. Choose natural patterns for storytelling maps and geometric ones for analytical presentations.
Scale and Density Considerations
The scale of your texture pattern must match your map’s zoom levels and viewing distance. Use finer detailed textures for close-up views and larger patterns for overview maps. Keep texture density between 10-20% opacity for background elements ensuring text and symbols remain clear. Test your texture at multiple zoom levels to confirm it doesn’t create moiré effects or pixel distortion. Adjust pattern spacing to maintain consistent visual weight across different display sizes.
Balancing Texture With Map Features
Effective texture integration requires careful balance between background elements and core map features. This harmony ensures both aesthetic appeal and functional clarity.
Creating Visual Hierarchy
Keep your texture opacity lower in areas with critical map data to create depth without interference. Apply stronger textures in less data-dense regions to guide attention naturally toward important features. Use texture weight variations to establish three distinct visual layers: background (10-15% opacity) map features (50-80% opacity) and labels (100% opacity). This structured approach helps viewers instantly recognize information priority while maintaining visual flow.
Managing Contrast Levels
Set texture contrast levels to complement rather than compete with map elements. Use lighter textures beneath dark features and darker textures under light elements maintaining a minimum contrast ratio of 4.5:1 for text legibility. Adjust texture saturation to 10-20% in areas with symbols markers or data points. This ensures your map features remain prominent while the texture adds subtle depth and character.
Maintaining Information Clarity
Structure your texture placement to support data interpretation rather than distract from it. Keep patterns simple in areas with complex data visualization using no more than 2-3 texture types across the entire map. Implement buffer zones of reduced texture density around key features labels and legend elements. Test your map’s readability at multiple zoom levels to verify texture scaling doesn’t compromise information visibility.
Implementing Color Theory With Textures
Color theory enhances texture application in maps by creating visual harmony and improving information hierarchy. Smart color-texture combinations strengthen your map’s visual impact while maintaining readability.
Monochromatic Texture Applications
Apply monochromatic textures using varying shades of a single color to create depth without visual distraction. Set your base texture at 10-15% opacity using a light shade then layer darker variations of the same hue at 5-10% opacity for detailed areas. This technique works especially well with blue ocean textures paper effects or terrain patterns. Use value contrast between texture layers to highlight elevation changes geographical boundaries or data clusters while maintaining a cohesive visual theme.
Complementary Color Combinations
Pair complementary colors in your textures to create dynamic visual interest while maintaining harmony. Use warm texture colors (oranges reds) at 15% opacity for land masses against cool complementary tones (blues greens) at 10% opacity for water features. Apply texture overlays in opposing colors at reduced opacity (5-8%) to define distinct regions or highlight thematic data. Keep complementary texture combinations subtle to avoid overwhelming your map’s essential information while adding meaningful visual depth.
Optimizing Texture for Different Map Types
Each map type requires specific texture treatments to enhance its purpose while maintaining clarity and functionality.
Topographic Map Textures
Apply subtle terrain-based textures that complement elevation data without obscuring contour lines. Use hillshade patterns at 15-20% opacity for mountain regions and gentle stippling effects for flatlands. Incorporate fine-grain textures resembling paper or canvas at 10% opacity to add depth while preserving the readability of elevation markers and trail indicators. For areas with dense contour lines reduce texture complexity to prevent visual interference with critical terrain information.
Political Map Textures
Choose clean geometric patterns that emphasize administrative boundaries without competing with border lines. Apply light grid textures at 10-15% opacity to reinforce the structured nature of political divisions. Use subtle dot matrices for urban areas and softer linear patterns for rural regions. Maintain consistent texture density across different administrative levels while adjusting opacity to create visual hierarchy between national state and local boundaries.
Thematic Map Textures
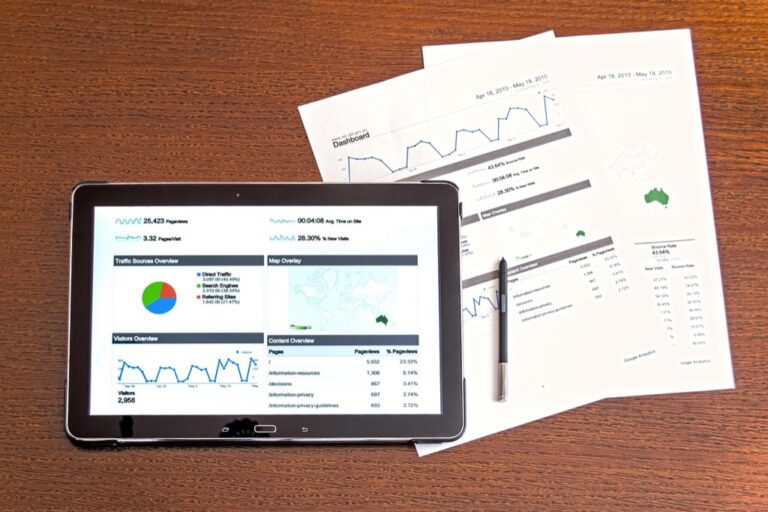
Select textures that support your data visualization without overwhelming it. For demographic maps use subtle gradient textures at 10% opacity to reinforce data clustering. In choropleth maps apply minimal texture variation to prevent interference with color-coded data. For economic maps incorporate faint geometric patterns that complement data symbolization while maintaining clear figure-ground relationships. Ensure texture patterns scale appropriately across different zoom levels to preserve data visibility.
Adjusting Texture for Various Display Formats
Texture optimization varies significantly across different display mediums to ensure maximum clarity and visual impact. Each format requires specific adjustments to maintain the map’s readability and aesthetic appeal.
Digital Screen Optimization
Optimize digital textures by setting their resolution to match common screen pixel densities (72-300 PPI). Use vector-based patterns that scale smoothly across different zoom levels without pixelation. Set texture opacity between 15-20% for desktop displays and increase to 25-30% for mobile screens to compensate for smaller viewing sizes. Implement responsive texture scaling using CSS media queries to automatically adjust pattern density based on viewport width. Test your textures across multiple devices including tablets phones and high-resolution displays to ensure consistent visibility.
Print Material Considerations
Adjust texture resolution to 300-600 DPI for professional printing to prevent pattern degradation. Select patterns that maintain clarity when printed in both color and grayscale modes. Increase texture contrast by 10-15% compared to digital versions to account for ink absorption and paper properties. Test print samples on different paper stocks to verify texture visibility especially for detailed patterns or light opacity settings. Consider how folding or lamination might affect texture appearance in printed materials like brochures or foldable maps.
Technical Aspects of Texture Application
Implementing textures effectively requires careful attention to technical specifications and optimization strategies to ensure both visual quality and performance.
File Format Selection
Choose vector-based SVG formats for geometric patterns to maintain crisp edges at any scale. Use PNG files for photographic or complex textures due to their lossless compression and alpha channel support. JPEG formats work well for subtle organic textures but avoid them for patterns requiring transparency. WebP offers optimal compression for web-based maps while maintaining quality across different devices.
Resolution Requirements
Set texture resolution to match your map’s maximum zoom level requirements. Use 72-150 DPI for web-displayed maps and 300+ DPI for print materials. Create textures at 2x the intended display size to accommodate high-density screens. For tiled backgrounds maintain dimensions in powers of 2 (256×256 512×512 1024×1024) to optimize memory usage and prevent scaling artifacts.
Performance Impact
Monitor texture file sizes to keep total map weight under 3MB for optimal load times. Implement texture sprite sheets to reduce HTTP requests on web maps. Use MipMapping for zoom-dependent textures to decrease memory usage by 33%. Cache repeated patterns and implement lazy loading for texture-heavy regions that appear only at specific zoom levels.
Common Texture Design Mistakes to Avoid
While textures can enhance map design, certain pitfalls can compromise their effectiveness and readability.
Overcrowding the Background
Excessive texture density creates visual chaos that competes with essential map elements. Avoid using patterns that exceed 30% opacity or combining multiple textures in the same area. Keep background patterns simple and subtle, particularly in data-dense regions. For example, a detailed woodgrain texture at 50% opacity will overwhelm point markers and route lines, while the same pattern at 15% opacity provides depth without interference.
Poor Contrast Choices
Selecting textures with insufficient contrast against map features undermines readability. Maintain a minimum contrast ratio of 4.5:1 between texture patterns and map elements. Watch for texture colors that clash with data visualization schemes or create vibration effects with similar tones. Test your texture contrast under different lighting conditions to ensure consistent legibility across various viewing environments.
Inconsistent Pattern Scaling
Texture patterns that don’t scale properly across zoom levels create jarring visual transitions. Set up texture scaling breakpoints that maintain consistent visual weight at different magnification levels. Avoid patterns that become pixelated or distorted when zoomed in or create moiré effects when zoomed out. Use vector-based textures for geometric patterns to ensure clean scaling or implement appropriate MipMapping for raster textures.
Best Practices for Texture Implementation
Testing for Legibility
Test your map’s texture legibility across multiple viewing distances zoom levels and devices. Start with a 100% zoom test of critical map elements like text labels roads and boundaries against the textured background. Verify text remains readable at 10-30% texture opacity using contrast checking tools. Check pattern visibility at standard viewing distances (18-24 inches) and conduct tests on both desktop and mobile screens to ensure consistent legibility.
Creating Visual Balance
Layer your textures strategically using a 3-tier opacity system: background texture at 10-15% map features at 50-80% and labels at 100%. Apply lighter textures in data-dense areas and stronger patterns in open spaces. Keep texture density between 10-20% to maintain visual harmony while preventing information overload. Use complementary patterns that enhance rather than compete with your map’s core elements.
Ensuring Accessibility
Maintain WCAG 2.1 compliance with a minimum contrast ratio of 4.5:1 between text and textured backgrounds. Choose patterns that remain distinguishable for colorblind users avoiding problematic color combinations. Test your map with screen readers to ensure texture elements don’t interfere with assistive technology. Include alt text descriptions for any meaningful texture patterns that convey geographic information.
Get clear, full-page magnification with this 2-pack of 3X Fresnel lenses (7.5" x 10.5"), ideal for reading small print. Made from durable, optical-grade PVC, this set also includes 3 bonus bookmark magnifiers for on-the-go convenience.
Future Trends in Map Background Textures
The evolution of map textures continues to accelerate with emerging technologies and design philosophies shaping the future of cartographic aesthetics.
Digital Innovation
Artificial intelligence and procedural generation are revolutionizing texture creation for maps. Machine learning algorithms now generate realistic terrain patterns that adapt dynamically to data density while maintaining visual consistency. Advanced rendering engines enable real-time texture synthesis that responds to zoom levels user interactions and environmental data. These innovations allow mapmakers to create unique textures that blend seamlessly with their data visualization needs.
Interactive Texture Elements
Dynamic textures are becoming increasingly responsive to user interaction. Modern mapping platforms incorporate animated patterns that shift based on data updates weather conditions or time of day. Smart texture systems automatically adjust opacity and scale to maintain optimal readability across devices. These interactive elements enhance user engagement while preserving essential map functionality through features like texture highlighting on hover and context-sensitive pattern changes.
Conclusion
Mastering texture in map backgrounds transforms your cartographic designs from simple data displays into engaging visual experiences. The key lies in striking the perfect balance between aesthetic appeal and functional clarity through careful texture selection opacity control and color harmony.
Remember that successful map textures enhance rather than overshadow your core data. By maintaining appropriate contrast ratios following accessibility standards and optimizing for different display formats you’ll create maps that are both beautiful and useful.
As mapping technology evolves your understanding of texture principles will help you adapt to new trends while maintaining the fundamental goal: creating maps that effectively communicate their message through thoughtful design choices.


