10 Best Terrain Shading Techniques for Elevation Mapping You Should Master
Understanding terrain shading techniques can transform your approach to elevation mapping. These methods not only enhance the visual appeal of your maps but also improve their interpretability, helping you make informed decisions. Whether you’re a cartographer, urban planner, or outdoor enthusiast, mastering these techniques can elevate your projects to new heights.
Understanding Elevation Mapping
Elevation mapping is crucial for visualizing terrain and understanding geographical features. By accurately representing elevation through various techniques, you enhance both the interpretation and utility of maps.
Importance of Elevation Mapping
Elevation mapping is vital because it provides insight into the topography of an area, highlighting variations in landforms. This detailed representation helps you identify natural barriers, assess drainage patterns, and comprehend landscape changes. Elevation data aids in planning, risk management, and environmental studies, making it an indispensable tool for professionals like engineers and urban planners.
Applications of Elevation Mapping
Elevation mapping finds applications across various fields. In urban planning, it helps assess site suitability and inform infrastructure decisions. For environmental analysis, elevation maps support habitat modeling and ecosystem studies. Additionally, in civil engineering, these maps are crucial for flood risk assessment and site design. Tools like ArcGIS and QGIS enable you to visualize elevation data effectively, enhancing your project outcomes.
Exploring Best Terrain Shading Techniques for Elevation Mapping
As you navigate the challenges of accurately representing terrain, utilizing effective shading techniques becomes essential. These methods enhance the visual appeal and interpretability of elevation maps, making them valuable tools for your projects.
Utilizing Hillshade Technique
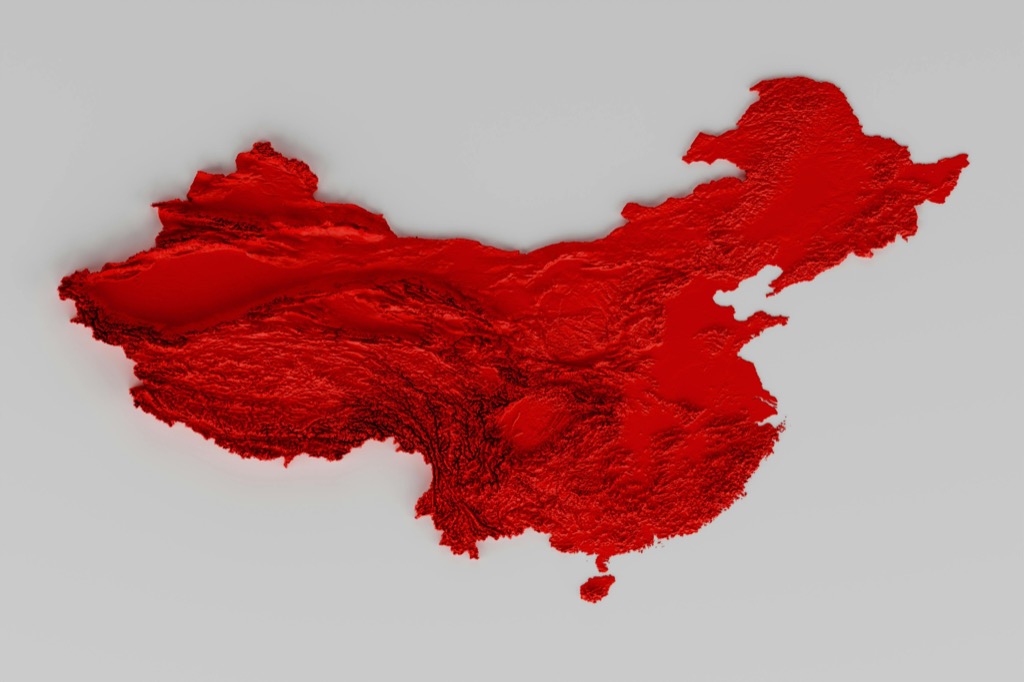
Hillshade mapping simulates light interaction with terrain features. By defining azimuth and altitude parameters, you create a 3D effect that emphasizes ridges and valleys. Tools like ArcGIS enable you to adjust these settings easily, producing maps that deeply convey the topography of your area of interest.
Applying Color Gradient Technique
Color gradients can transform elevation data into visually striking maps. Using software like QGIS, you can assign colors based on elevation ranges, helping users quickly grasp elevation changes. This technique simplifies the visualization of complex landscapes and aids in interpretations such as watershed delineation.
Implementing Contour Lines Technique
Contour lines provide a clear representation of elevation changes in your maps. With tools like Global Mapper, you can generate and customize these lines to suit your project needs, enhancing clarity. Contouring is a powerful method for conveying slope steepness, critical for urban planning and environmental assessments.
Incorporating 3D Terrain Visualizations
3D visualizations elevate your mapping presentations by adding depth and realism. You can utilize software such as SketchUp or CesiumJS to create these views, improving user engagement. These tools help demonstrate geographical features more effectively, aiding decision-making in landscape analysis or development projects.
Analyzing Benefits of Each Technique
Understanding the advantages of different terrain shading techniques can significantly enhance your mapping projects. Here’s a breakdown of some key methods.
Benefits of Hillshade Technique
Hillshade mapping transforms a flat, 2D surface into a striking 3D representation. You can achieve this by simulating sunlight’s effects on terrain, with specific angles for azimuth and altitude. This approach reveals subtle landforms and textures, making it particularly beneficial for mountainous areas. Tools like ArcGIS and QGIS allow for effective hillshading, giving depth and realism to your maps.
Benefits of Color Gradient Technique
Color gradient techniques simplify the interpretation of elevation changes by using a spectrum of colors to indicate different heights. You can quickly identify steep areas versus gentle slopes through clear color transitions. This method is especially helpful in applications like GIS Online, where you can customize color ramps to suit your project needs. The technique enhances readability and visual appeal, making your maps more user-friendly.
Benefits of Contour Lines Technique
Contour lines provide a clear representation of elevation changes, effectively illustrating slope steepness. You can easily identify rises and falls in the terrain while maintaining precision. This technique is compatible with GIS software like ArcGIS Pro and MapInfo, which allow for detailed customization of contour intervals. Implementing contour lines helps ensure clarity, especially in complex terrains where other shading techniques might fall short.
Master ArcGIS Pro 3.2 with this comprehensive guide. Learn essential GIS workflows and data management techniques for effective spatial analysis.
Benefits of 3D Terrain Visualizations
3D terrain visualizations add significant depth to your mapping projects, making it easier to communicate complex spatial information. You can utilize software like Google Earth Pro and QGIS 3D viewer to create engaging visual presentations. These visualizations allow for interactive exploration of your terrain, enabling better decision-making in planning and analysis. It’s an excellent method for showcasing elevation in presentations, enhancing both effectiveness and appeal.
View Realist stereo slides in immersive 3-D with this affordable Radex viewer. Its lightweight design and simple operation make it perfect for enjoying vintage slides.
Master Google Earth Pro to enhance your real estate business. Visualize properties and analyze locations with powerful mapping tools.
Evaluating Tools for Terrain Shading Techniques
When it comes to elevating your terrain mapping skills, choosing the right tools is essential. Various software and platforms offer specific functionalities, helping you visualize and analyze elevation data effectively.
Software for Hillshade Visualization
To create impactful hillshade visuals, ArcGIS and QGIS stand out among the leading software options. Both applications allow you to manipulate key parameters like azimuth and altitude, crucial for adjusting light source angles. ArcGIS offers advanced hillshade functions that generate stunning 3D effects, while QGIS provides an intuitive interface for quick adjustments and visualizations. You can transform flat terrain into compelling representations with these tools.
Tools for Color Gradient Application
For applying color gradients in elevation mapping, consider using Mapbox or Tableau. Mapbox excels in creating interactive maps with a range of customizable color schemes to represent elevation changes. Tableau, on the other hand, allows for intuitive data visualization, adapting colors based on specific elevation ranges effectively. Both options improve readability and help convey geographical features with clear visual cues.
Applications for Contour Mapping
When it comes to contour mapping, Surfer and AutoCAD Map 3D are excellent choices. Surfer specializes in generating contours from various data sources and provides several customization options for line styles and intervals. AutoCAD Map 3D integrates well with design workflows, allowing you to create precise elevation representations directly within your CAD environment. Both tools enhance clarity in demonstrating slope and terrain features.
Master AutoCAD Map 3D 2023 with this comprehensive guide. Learn essential tools and techniques for geospatial analysis and map creation.
Platforms for 3D Terrain Modeling
For 3D terrain modeling, platforms like SketchUp and Blender offer powerful capabilities. SketchUp’s user-friendly interface allows for quick modeling and easy manipulation of terrain meshes. Blender provides advanced rendering techniques, enabling you to create highly detailed, realistic terrain visuals. Utilizing these platforms enhances understanding of spatial relationships and adds depth to your mapping projects.
Tips for Effective Terrain Shading
Enhancing your terrain shading can significantly impact your elevation mapping projects. Here are some practical tips to improve your shading techniques.
Choosing the Right Technique for Your Needs
Identify the specific goals for your project. If you want to show terrain relief, Hillshading works best as it simulates the interplay of light and shadow. For detailed elevations in steep regions, consider Multi-Directional Lighting, which brings out subtle features that might get lost in shadow. Prioritize techniques based on the terrain’s characteristics and the level of detail required.
Best Practices in Elevation Mapping
Utilize a combination of shading techniques to enhance clarity. Layer Color Gradient shading over Hillshading to combine visual appeal with accurate elevation representation. Regularly adjust your lighting parameters in GIS software, like QGIS or ArcGIS, to improve results. Make sure to test your maps with your audience to gather user feedback, helping ensure readability and understanding.
Common Mistakes to Avoid in Terrain Shading
Avoid using too many contrasting colors, as this can confuse rather than clarify elevation changes. Don’t neglect the scale of your map; oversimplifying or over-complicating elevations can mislead viewers. Additionally, be cautious with light source placement—wrong settings can distort visual representation. Regularly review the accuracy of your data sources to ensure your shading reflects true terrain features.
Conclusion
Embracing the right terrain shading techniques can transform your elevation mapping projects. By enhancing visual appeal and interpretability you can make informed decisions that lead to better outcomes. Whether you’re a cartographer or an urban planner the techniques discussed can elevate your work.
Utilizing tools like ArcGIS and QGIS allows you to effectively apply these techniques while avoiding common pitfalls. Remember to choose methods that align with your project goals and terrain characteristics. Regularly reviewing your data accuracy will ensure your maps remain reliable and impactful. With the right approach your elevation mapping can truly shine.


