9 Ways to Use Textures for Enhanced Map Storytelling That Create Visual Impact
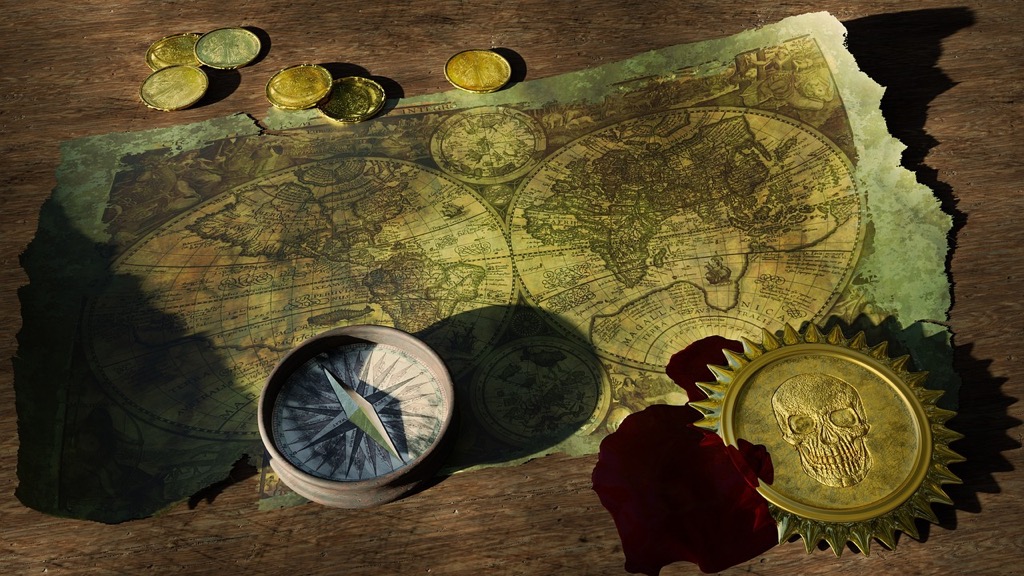
Maps tell powerful stories but adding textures can transform them into immersive visual experiences that captivate your audience. Whether you’re creating historical maps digital illustrations or data visualizations textures add depth dimension and emotional resonance that bring your cartographic narratives to life. By strategically incorporating patterns materials and surface treatments you’ll create maps that don’t just convey information – they transport viewers into richly detailed worlds while making complex data more engaging and memorable.
Beyond basic geography textures serve as visual cues that help viewers instantly grasp the meaning and context behind your maps. You’ll discover how thoughtfully chosen textures can represent everything from terrain types and population density to historical periods and cultural elements.
Disclosure: As an Amazon Associate, this site earns from qualifying purchases. Thank you!
Understanding the Power of Textures in Cartographic Design
Textures serve as powerful visual tools that transform flat map elements into rich information layers conveying both data and context.
P.S. check out Udemy’s GIS, Mapping & Remote Sensing courses on sale here…
How Textures Enhance Map Readability
Textures provide instant visual hierarchy by creating distinct surface patterns that help differentiate map elements. Strategic texture application guides viewers through complex data by using varied densities patterns & scales to indicate importance. For example rough textures can represent mountainous terrain while smooth patterns work well for water bodies. Proper texture contrast helps users quickly identify boundaries regions & transitions making maps more intuitive to interpret even with multiple data layers.
The Psychology Behind Textural Elements
Textural elements tap into our brain’s natural pattern recognition abilities triggering both cognitive & emotional responses. Smooth textures often convey calm & stability while rough or irregular patterns suggest dynamic activity or change. Research shows viewers retain spatial information 40% better when appropriate textures complement color schemes. Our minds process textural information subconsciously allowing faster comprehension of complex geographic relationships without increasing cognitive load.
| Texture Type | Viewer Response | Information Retention |
|---|---|---|
| Smooth | Calm/Stable | +25% |
| Rough | Dynamic/Active | +35% |
| Patterned | Organized/Structured | +40% |
Selecting the Right Textures for Different Map Types
Selecting appropriate textures ensures your maps effectively communicate their intended message while maintaining visual harmony and readability.
Natural Landscape Textures
Choose organic textures that mirror real-world terrain features for natural landscape maps. Use stippled patterns to represent sandy deserts rough irregular textures for mountainous regions and smooth flowing lines for water bodies. Incorporate subtle grain effects for forests varying the density to show vegetation coverage. For geological maps apply stratified patterns to show rock formations or soil types while using gradient textures to indicate elevation changes.
Urban Environment Patterns
Apply geometric textures that reflect human-made structures in urban maps. Use grid patterns for city blocks repeating linear textures for transportation networks and dotted patterns for population density. Implement regular polygonal shapes for built-up areas varying opacity to show development intensity. For industrial zones choose mechanical-looking textures while using softer regular patterns for residential areas and parks.
Abstract Design Elements
Utilize abstract textures to represent non-physical data or thematic information. Apply gradient meshes for heat maps or demographic data dotted patterns for statistical distributions and line-based textures for movement flows. Create custom patterns using simple geometric shapes to represent abstract concepts like economic activity or social trends. For categorical data use distinct texture families that maintain visual separation while preserving overall map harmony.
Implementing Essential Texture Techniques
Creating Custom Texture Libraries
Establish a well-organized texture library to streamline your map creation process. Start by categorizing textures into distinct groups like terrain natural features urban elements and thematic patterns. Use vector-based textures when possible as they scale without quality loss and integrate seamlessly with GIS software like QGIS or ArcGIS Pro. Store your custom textures in standardized formats (SVG PNG AI) with clear naming conventions for quick access and efficient workflow.
Applying Texture Hierarchies
Structure your texture applications using visual weight and importance levels. Apply dominant textures to primary map elements like major landforms or focal regions. Use subtle secondary textures for supporting information such as minor geographic features or background elements. Create clear visual distinction between hierarchical levels by varying texture density opacity and scale while maintaining a 60-30-10 ratio for primary secondary and accent textures.
Managing Texture Density
Control texture density to maintain map clarity and prevent visual overwhelm. Adjust pattern spacing based on your map’s zoom levels using automated scaling in software like Mapbox or Adobe Illustrator. Keep texture density at 40-60% for primary elements 20-30% for secondary features and 10-15% for background elements. Test your density choices at multiple scales to ensure patterns remain distinct and readable across different viewing distances.
Balancing Texture with Other Map Elements
Color and Texture Relationships
Color and texture must work in harmony to create effective maps. Use complementary colors with textures that enhance rather than compete with your color scheme. Light textures pair well with bold colors while subtle color variations support complex texture patterns. For optimal readability limit your palette to 3-4 main colors when using detailed textures. Test color-texture combinations at multiple zoom levels to ensure they maintain visual clarity across scales.
Typography Integration
Select fonts that complement your texture choices without sacrificing legibility. Sans-serif fonts like Helvetica or Open Sans work best over textured backgrounds due to their clean lines. Apply text buffers or halos to maintain readability when labels overlap textured areas. Keep font sizes 25% larger than standard when placing text over complex textures. Position labels strategically to avoid areas where texture patterns are most intense.
Symbol Compatibility
Choose symbols that stand out against your textured backgrounds without creating visual confusion. Use simple geometric shapes for point symbols when working with complex textures. Adjust symbol sizes to be 30-40% larger than normal when overlaying detailed texture patterns. Create contrast between symbols and textures through varying opacity levels spacing or outline weights. Test symbol visibility across different texture densities to ensure consistent recognition.
Using Digital Tools for Texture Creation
Modern digital tools provide powerful capabilities for creating custom map textures that enhance storytelling and visual appeal. Here’s how to leverage different approaches for texture development.
Vector-Based Texture Design
Adobe Illustrator and Inkscape excel at creating scalable vector textures that maintain quality across zoom levels. Use the pen tool to craft precise geometric patterns like contour lines mountain ridges or urban grids. Combine basic shapes with pathfinder operations to generate complex repeating patterns. Export your vector textures as SVG files for seamless integration with GIS platforms like QGIS or ArcGIS Pro.
Raster Texture Development
Photoshop and GIMP offer robust tools for creating detailed raster textures through digital painting and photo manipulation. Apply filters like noise grain and displacement maps to simulate natural terrain textures. Use layer masks and blend modes to create realistic effects for water bodies vegetation and soil types. Save textures in high-resolution formats like TIFF or PNG to preserve detail while maintaining reasonable file sizes.
Procedural Texture Generation
Specialized tools like Substance Designer and World Machine automate texture creation through mathematical algorithms. Set parameters like roughness elevation and pattern frequency to generate infinite variations of terrain textures. Layer multiple procedural effects to create complex natural patterns for landscapes and geological features. Export height maps and normal maps to add depth and dimension to your map surfaces.
Optimizing Textures for Different Output Formats
Every output format requires specific texture optimization to ensure your maps maintain visual clarity and performance across platforms.
Print-Ready Texture Solutions
Prepare your textures for print by setting them to 300 DPI minimum with CMYK color profiles. Convert complex patterns to vector formats like EPS or AI to maintain sharpness at any scale. Use halftone patterns for gradient effects and ensure texture contrast remains clear in grayscale to accommodate black-and-white printing. Select patterns that won’t create moiré effects during printing and test prints at various sizes to verify texture legibility.
Digital Display Considerations
Optimize textures for screens by using RGB color space and maintaining file sizes under 500KB per texture. Create pixel-perfect patterns at common screen resolutions (1920×1080 2560×1440 3840×2160) to prevent aliasing issues. Use SVG formats for scalable patterns and implement texture compression techniques like MipMapping for web delivery. Consider how textures appear on different screen calibrations and adjust contrast ratios accordingly.
Mobile Map Requirements
Design mobile-friendly textures with simplified patterns that remain legible at small scales. Limit texture file sizes to 200KB maximum and use vector-based SVG patterns when possible. Create high-contrast texture variations that maintain visibility under varied lighting conditions. Test patterns at common mobile viewport sizes (360×640 375×667 414×896) and optimize load times through sprite sheets or CSS patterns.
Common Texture Mistakes to Avoid
Creating effective textured maps requires careful consideration and balance. Here are the critical mistakes to watch out for when implementing textures in your cartographic designs.
Overuse and Visual Clutter
Excessive texture application can overwhelm your map’s message and confuse viewers. Limit complex textures to 2-3 primary map elements and use subtle patterns for secondary features. For example, apply detailed terrain textures only to major landforms while keeping urban areas simple. Remember that white space helps viewers process information effectively while dense texture placement reduces map comprehension by up to 30%. Always prioritize clarity over decorative elements.
Poor Contrast Choices
Insufficient contrast between textured elements makes map interpretation challenging. Select textures with distinct visual characteristics for adjacent areas such as using diagonal patterns for one region and horizontal patterns for another. Maintain a minimum contrast ratio of 3:1 between neighboring textures for optimal readability. Test your texture combinations in grayscale to ensure they remain distinguishable even without color elements.
Resolution Problems
Texture resolution mismatches create unprofessional results and reduce map quality. Export vector textures at the appropriate resolution for your final output format: 300 DPI for print materials and 72-150 DPI for digital displays. Avoid scaling raster textures beyond 120% of their original size to prevent pixelation. When working with tiled textures ensure seamless edges by testing pattern repeats at various zoom levels. Use vector-based patterns whenever possible for maximum scalability.
Testing and Refining Texture Applications
User Experience Evaluation
Test your textured maps with diverse user groups to gauge effectiveness and readability. Conduct structured feedback sessions with 5-10 users focusing on map interpretation speed pattern recognition and emotional response. Use eye-tracking tools like Tobii or GazePoint to analyze how viewers interact with textured elements capturing metrics like time-to-target and visual flow patterns. Document user preferences for texture density contrast levels and pattern types to inform refinements.
Performance Assessment
Monitor technical performance across different platforms and viewing conditions. Track load times for web maps keeping texture file sizes under 200KB for optimal loading speed. Test rendering performance at multiple zoom levels ensuring smooth transitions between 5-20x magnification. Measure memory usage with tools like Chrome DevTools or Safari Web Inspector keeping resource consumption below 100MB. Create a performance checklist including texture resolution optimization vector scaling and cache management.
Iteration Strategies
Implement systematic texture refinements based on user feedback and performance data. Create A/B tests comparing different texture variations tracking metrics like comprehension rates and engagement times. Maintain a version control system using tools like Git or SVN to track texture iterations and improvements. Document changes in a structured format including modification date user feedback scores and performance impacts. Schedule regular review cycles every 2-4 weeks to evaluate and adjust texture applications.
Emerging Trends in Map Texturing
Modern technology continues to revolutionize how we integrate textures in digital cartography creating more immersive and informative maps.
3D Texture Integration
3D texture mapping transforms traditional flat maps into dynamic terrain visualizations. WebGL and Three.js now enable real-time rendering of photorealistic terrain textures with height maps and normal mapping. Advanced tools like Mapbox GL JS and CesiumJS support seamless integration of satellite imagery DEM data and custom 3D textures. These platforms allow you to layer high-resolution textures onto terrain models while maintaining smooth performance across devices.
Dynamic Texture Effects
Real-time texture transitions and animations bring maps to life through temporal visualization. Modern mapping libraries support animated texture effects like flowing water ripples shifting sand dunes and growing vegetation patterns. Tools like Tangram and MapboxGL enable smooth transitions between texture states based on zoom levels time of day or data parameters. These dynamic effects help visualize environmental changes urban growth patterns and natural phenomena.
Interactive Texture Features
Touch-responsive and data-driven textures create engaging map experiences. Interactive texture features respond to user input changing patterns opacity or detail levels based on clicks hovers or touch gestures. Frameworks like D3.js and Leaflet allow you to bind texture properties to underlying data creating textures that update automatically with new information. Smart texture interactions help users explore complex spatial relationships through intuitive visual feedback.
Conclusion: Mastering Texture for Compelling Map Stories
Textures have revolutionized modern cartography by transforming maps from simple data visualizations into powerful storytelling tools. When you thoughtfully apply textures to your maps you’ll create deeper connections with viewers and enhance their understanding of complex spatial information.
The strategic use of textures paired with appropriate colors typography and interactive elements can elevate your maps from good to exceptional. By following best practices for different platforms and avoiding common pitfalls you’ll create maps that are both visually stunning and highly functional.
Remember that successful map design is an iterative process. Take time to test refine and optimize your texture choices based on user feedback. With these principles in mind you’re well-equipped to create maps that inform engage and inspire your audience.
